I love when new Online Exclusives get released! New products are announced three times a year, between printed catalog releases, which gives everyone something fresh and new to see and play with! My favorite from the November selection is the Marbled Elegance Suite! This collection is so very lovely and the paper is amazing! While the set is aimed at Valentine's Day, you will see that I used it for a get well and Christmas card too.
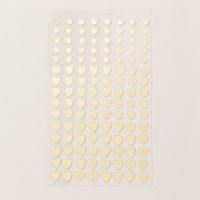
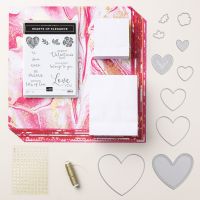
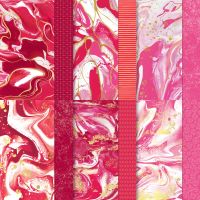
The collection includes a stamp and die bundle (Hearts of Elegance), the Marbled Elegance Specialty Designer Series Paper, Gold Twisted Thread, Adhesive Backed Heart Sequins (nice and flat for mailing!), and a Combo Pack of Gift Bags. The DPS has gold foil designs on one side and swirls of Real Red, Cherry Cobbler, Melon Mambo, Flirty Flamingo and Petal Pink, while the reverse side has subtle patterns. Of course, it pairs well with Gold Foil paper (which you'll see in some of my samples), and Gold heat embossing.
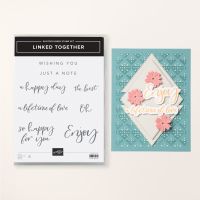
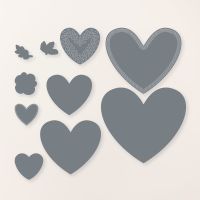
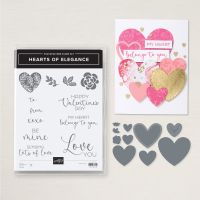
Here is the chart I made which shows all of the stamps (11) and dies (10). The four plain hearts layer perfectly with the smallest one also cutting out the stamped floral heart. The stitching on the other three hearts is quite lovely and you can pair them with some of the other hearts if desired.
Gather your supplies:- Cardstock: Petal Pink 8-1/2" x 5-1/2"(scored at 4-1/4"); Basic White 4" x 5-1/4" and 2-1/4" x 2-1/4"; Marbled Elegance Specialty DSP (2) 3-3/4" x 2-7/16"
- Bundle: Hearts of Elegance
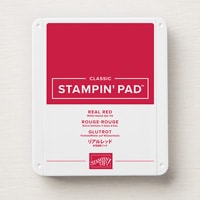
- Ink: Real Red
- Embellishment: Adhesive Backed Heart Sequins
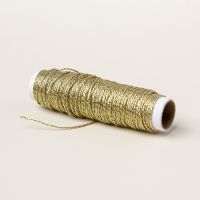
- Gold Twisted Thread 12"
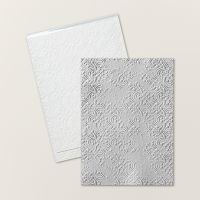
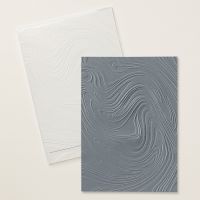
- Embossing Folder: So Swirly
- Adhesive and Tools
One of our SU Artisan team members, Su Mohr, posted a card she made with this layout and it inspired me to give it a try. She didn't have any dimensions, so I reverse engineered it and used it for this
video. While it may look difficult to make, it's quite easy when you break it down into the components. I started with a strip of that gorgeous gold foiled paper cut at 3-3/4" wide. Then I cut off two pieces that were 2-7/16" height. Place these two pieces on your work surface, next to each other, just like they were before you cut them. With a pencil, make a mark in the middle, just a little bit off center to the right. Now using your trimmer cut the top piece approximately1" from the top left corner to the pencil line. For the bottom piece, cut from the left side, about 3/4" up from the bottom to the pencil line. The triangles you cut off won't be used.
Glue these two pieces onto the white layer, leaving about 1/8" border. You should have about that same border between the two DSP pieces and a big open white space to the left of them. I chose to emboss this panel with the So Swirly embossing folder since the DSP was full of swirls. If you don't have that one, you could use just about any folder in your collection. Adhere this to the card front (I had previously folded and creased the card base).
Cut out the stitched heart and add Seal on the back side. I took about 12" of the Gold Twisted Thread to zig zag it behind the heart to add another touch of the gold. Add dimensionals and pop this up near the center of the card where the DSP pieces join. For the inside, stamp the Happy Valentine's Day sentiment and adorn with the Heart Sequins. Use the XOXO stamp to add a line of hugs and kisses along the bottom of the envelope.
I have to admit that I really struggled with which card I would demonstrate in the
video and this next one was in the running. (I will probably turn this into a Creativity in a Snap video soon.) This fun fold really shows off the DSP. I used both Gold Foil paper and Gold heat embossing to make this beauty. It's a bit challenging to photograph because it likes to pop open! So I took a picture as it was sitting open on the table, as well as one somewhat flattened open. Want to see this one made in a video?
Because Valentine's Day is so far away, I wanted to show how this set could be used for other occasions too. This one features three of the plain hearts cascading over the background made with the Distressed Tile 3D embossing folder. Sending love is a great sentiment at any time of the year, but especially when someone is sick or recovering from surgery. The inside sentiment is from the Comforting Thoughts stamp set.
To make this card, I folded my Thick Basic White base as normal, Then I placed the large heart so that the very top of the heart hung over the fold by just a tiny amount. You might think this wouldn't cut in one pass with the Stampin' Cut & Emboss machine, but it does! Cut another large heart out of the DSP to add on top. This way, the heart is complete, but the card opens as a top fold. This was another one I almost chose to demonstrate!
Pretty in Pink (one of our current In Colors) isn't one of the colors in the DSP pack, but it sure does make a pretty card! I stamped the flower in the same ink color for the background panel. Then I used the Countryside Dies to cut a label. I stamped and cut two flowers with Pretty in Pink and Petunia Pop, and some leaves with Granny Apple Green and Lemon Lime Twist. With the words stamped in black, I thought the card really popped on a Basic Black card base. I can envision this card done in a wide range of colors, can't you?
On this next card, I chose the non-gilded side of the paper (even thought I kept wanting to use the other swirly side!). I used some of the new two tone DSP in Real Red to cut a partial heart from the large heart with the rows of stitching. By only having part of the heart, it doesn't dominate the card front while still having the feeling of the whole heart being there! A simple sentiment adds all that is needed to complete this card that would be perfect for an anniversary, or any time you want to tell someone how much you love them.
This last card was inspired by a card made by Deno Rekow (my upline) and I loved it because it shows off both sides of the paper at the same time. I decided to make a Christmas card and use the Hearts and Hugs bundle to make the little mouse holding the heart. I also used the Peaceful Season (why I couldn't remember the name during the
video, I have no clue!) bundle for the sentiments and Christmas die. I love how the words about heart tie in so perfectly with this collection. It just goes to show you that while this suite of products was designed for Valentine's Day, it is way more versatile than just that!
The last part of the collection are a combo pack of gift bags. The largest one measures 4-1/2" x 5-3/4" x 2-1/2" while the small one is 3-1/2" x 3-3/4" x 1-3/4" and there are eight of each in the pack. I chose to tie the bags at the top, but they would also look great with colorful tissue paper sticking out of the top. One helpful tip is to use cardboard (I used the piece that comes in each of our kits) to place inside to give a nice surface to stamp against. Otherwise, you have the folds of the bag that could hinder you getting a good stamped image. I cut a piece 4-1/4" wide for the large bag and another about 3" wide for the small bag. I loved how the four plain hearts layered to fit just right on the large bag. In case you're wondering, the ribbon on the small bag is from the Petal Pink and White Combo pack of ribbon.
Take a moment to visit my store and see all of the other new Online Exclusive products that were released last week - there are some really nice ones. I plan to be making cards featuring them in the upcoming weeks (you may have already seen some of my Happy Hibiscus cards on my Facebook Group page (The Power of a Cardmaker). If you're not a part of the group, please chick the link below to join. I try to post cards or videos most every day. Thanks for watching/reading and I hope you have enjoyed my projects today!
Karen
ThePowerOfACard@gmail.com
Etsy Shop: The Power of a Card
Shop my Store!
https://ThePowerOfACard.blogspot.com
Images Copyright Stampin’ Up!®
Find me on Facebook - The Power of a Card or
Join my Facebook Group (The Power of a Cardmaker): https://www.facebook.com/groups/1042676296088278/?ref=share
My current host code for November is: WASBHZGS.
Please use this for orders less than $150 and you’ll get a special treat from me.
For orders over $150, you qualify for host rewards from Stampin’ Up! (plus a treat from me!).