Showing posts with label Dies. Show all posts

Tuesday, March 4, 2025

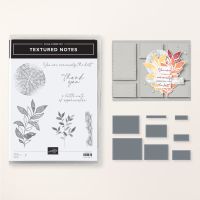
Textured Notes Bundle

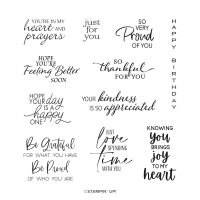
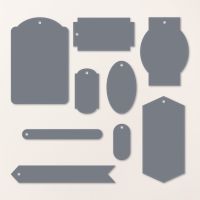
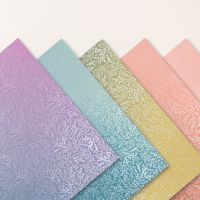
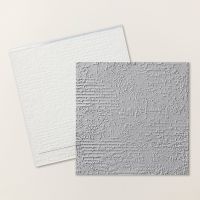
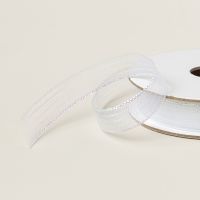
If you've followed me for any length of time, you know how much I love dies!  So when I saw this bundle, I mostly wanted the dies.  But of course, it's a bundle and I hate to pass up that bundle savings!  The fonts and sentiments are lovely and the more I played with the stamps, the more I fell in love with them too.  This bundle is just part of a larger suite of newly released online exclusive products called the Botanical Textures Suite - it also includes two packs of DSP (Botanical Textures and Woven Textures). the Mini Corrugated 3D Embossing Folder, Neutral Matte Dots and White 1/4" Ribbon.  I don't have everything in the suite, but in my video, I will show a few of them in my sample cards.

Gather your supplies:

  • Cardstock:  Ctumb Cake 8-1/2" x 5-1/2"(scored at 4-1/4"); Basic White (2) 4" x 5-1/4", 1-1/4" x 5"
  • Bundle:  Textured Notes
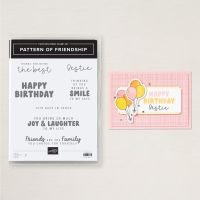
  • Stamp:  Pattern of Friendship
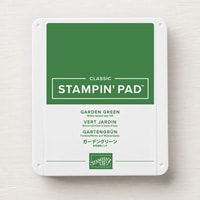
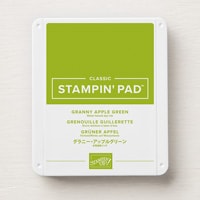
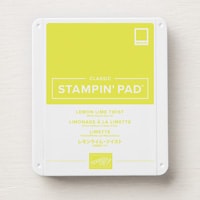
  • Inks:  Garden Green, Granny Apple Green, Lemon Lime Twist
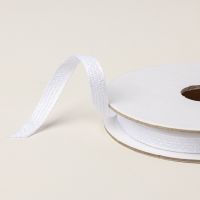
  • Ribbon:  White 1/4" Ribbon 6"
  • Adhesive and Tools

This card is quite striking in its simplicity.  Start by stamping the large leafy stamp in Garden Green three or four times on one of the white panels.  I like to start with the darkest color first and stamp in various orientations, including going off the edge.  Before cleaning the stamp, add a partial leaf to the corner of the envelope.  Switch to Granny Apple Green and add more leaves, including the envelope and one on the inside white panel.  Complete the panel by stamping with Lemon Lime Twist.  Stamp the leaf on the inside piece and envelope too.  When considering a color combination for these leaves, remember that the leaves will overlap and the colors need to look good when you do so.  My initial sample was done in Poppy Parade, Pumpkin Pie and Daffodil Delight.


Since the inside panel is nearly done, let's finish hit by stamping the sentiment from Pattern of Friendship in Garden Green.  For the sentiment on the front of the card, I used the second largest die and did partial die cutting to make a thin label from a piece of Basic White that was 1-1/4" x 5".  Here is a video that shows how to lengthen or shorten a label using partial die cutting - it's really simple to do and extends the usage of your dies a lot!  I used another sentiment from Pattern of Friendship for this label, also stamped in Garden Green.


Before popping the label up on the card front, wrap the ribbon around the middle of the leafy rectangle and adhere it to the back side with Seal.  Glue this panel to the card base, which was folded in half and creased with the bone folder.  Glue the interior panel to the inside of the card and you are done!


My first sample uses Crumb Cake Two-tone cardstock on a Very Vanilla base.  The woven stamps are done with Pecan Pie ink and the leaves are stamped with Garden Green and Old Olive.  I used some Garden Green Linen Thread (from the Natural Tones Linen Thread trio pack) to add to the organic feel of the card and stamped a few more leaves on the inside and envelope.  The Thank You sentiment is from Simply Said.


As I mentioned, I really fell in love with the dies in this bundle.  I cut out a bunch of the 2nd smallest dies from Basic White – maybe 7 or 8 of them – and arranged them diagonally on a 3-3/4” x 5” panel of Basic White.  When you trim off the edges, you will have smaller bits that can be used to fill in the gaps.  I then stamped my sentiment on another label and matted this in Lemon Lime Twist, leaving space on the left side for leaf (which was fussy cut).  I added a little bow in white Baker's Twine.  (If you wanted to make it a more masculine card, you could leave this off.)  I stamped the side of the inside panel and envelope with the same leaves.

This one is another simple card layout that looks fabulous because the paper (Botanical Textures DSP) is so lovely.  Instead of leaving it black and white, I colored it with Stampin’ Blends (Granny Apple Green, Lemon Lime Twist and Lemon Lolly).  I used the smallest long rectangle for sentiment, popped that up with Dimensionals and adorned it with a little bow in the White 1/4" ribbon.


Using that same pack of DSP, I cut a 4" x 5-1/4" rectangle and folded back the corner before mounting it on a Basic Black card base.  I used the middle die (4th from either direction) and partial die cutting to make a square.  I liked the pop of Real Red leaves on this panel.  I used white embossing powder to make my sentiment and adorned it with Adhesive Backed Sparkle Gems.  Black, white and red always look so sharp together!


The sentiment for exterior label is from Everyday You & Me and is stamped in Misty Moonlight on the 3rd smallest die.  I stamped the woven circle in Crumb Cake on a White panel as my background.  Misty Moonlight cardstock was used to mat the panel and add a strip of color beneath the label.  The inside of the card uses the 2nd smallest die and a sentiment from Wonderful Thoughts.


I used the largest die to cut out a piece of the Mixed Media Florals paper, then stamped the large leaf in Shy Shamrock (both full strength and stamped off).  The circle is made with the 2" circle punch and is backed with the Shy Shamrock Bordered Ribbon.  The final touch is the addition of the 2024-2026 In Color Shimmer Dots.  One thing to note is that the proportions of these dies do not quite match the standard A2 size of cards I make - as you can see from this card, the borders on the sides are slightly wider than that on the top and bottom.  If this bothers you, simply trim the card down to have even borders.


My last card also features the Everyday You & Me stamp set for the flowers and leaves.  I die cut the second and third largest dies from Basic White, then stamped Painted Stripes (another new stamp) in Peach Pie on the smaller of the two before adhering them together.  I tied the White Woven Ribbon around this panel, then added the flowers, leaves and sentiment (all fussy cut) with Dimensionals. Before popping this up on my card base, I stamped a few leaves in opposite corners in Peach Pie ink - it adds a little touch of additional texture. 


This Textured Notes bundle is just a small sample of all the new products released yesterday in the Online Exclusives section of my store.  Check it out and watch my Facebook group to see more samples - I know I will be having a lot of fun with these new goodies!

Karen


ThePowerOfACard@gmail.com

Etsy Shop: The Power of a Card

Shop my Store!

https://ThePowerOfACard.blogspot.com

Images Copyright Stampin’ Up!®


Find me on Facebook - The Power of a Card or

Join my Facebook Group (The Power of a Cardmaker):  https://www.facebook.com/groups/1042676296088278/?ref=share


My current host code for March is: RFH4TBKK.

Please use this for orders less than $150 and you’ll get a special treat from me.

For orders over $150, you qualify for host rewards from Stampin’ Up! (plus a treat from me!).


Product List

Tuesday, August 6, 2024

Greetings of the Season - Hole or No Hole?

Most of you know that I love dies and this set is a great new addition to my collection.  The Greetings of the Season bundle includes a holiday greetings stamp set and this collection of 9 tags.  However, they don't have to be used as just tags!  There are some fabulous shapes and I will show you how to cut them out without a hole so you can use them as a regular label.  I use partial die cutting (shown in both this video and one of my How Do I video shorts) to get rid of or add holes, along with changing the length of the label/tag.  In my samples, I will also show you some of the other new products in our on-line exclusives line - let's get to it!

 Gather your supplies:

  • Cardstock: Thick Basic White 4-1/4" x 11"; Basic White 4" x 5-1/4", 1-3/4"circle; Thoughtful Designs Specialty DSP 2-3/8" x 3-1/2", 3/4" x 4", 3/4" x 4-1/2"
  • Stamp Sets:  Textured Florals, So Sincere
  • Dies: Greetings of the Season
  • Ink:  Lost Lagoon, Pretty Peacock
  • Embossing Folder:  Exposed Brick 3D
  • Punch: 1-3/4" Circle
  • Ribbon: Iridescent Striped Trim 15"
  • Adhesive and Tools
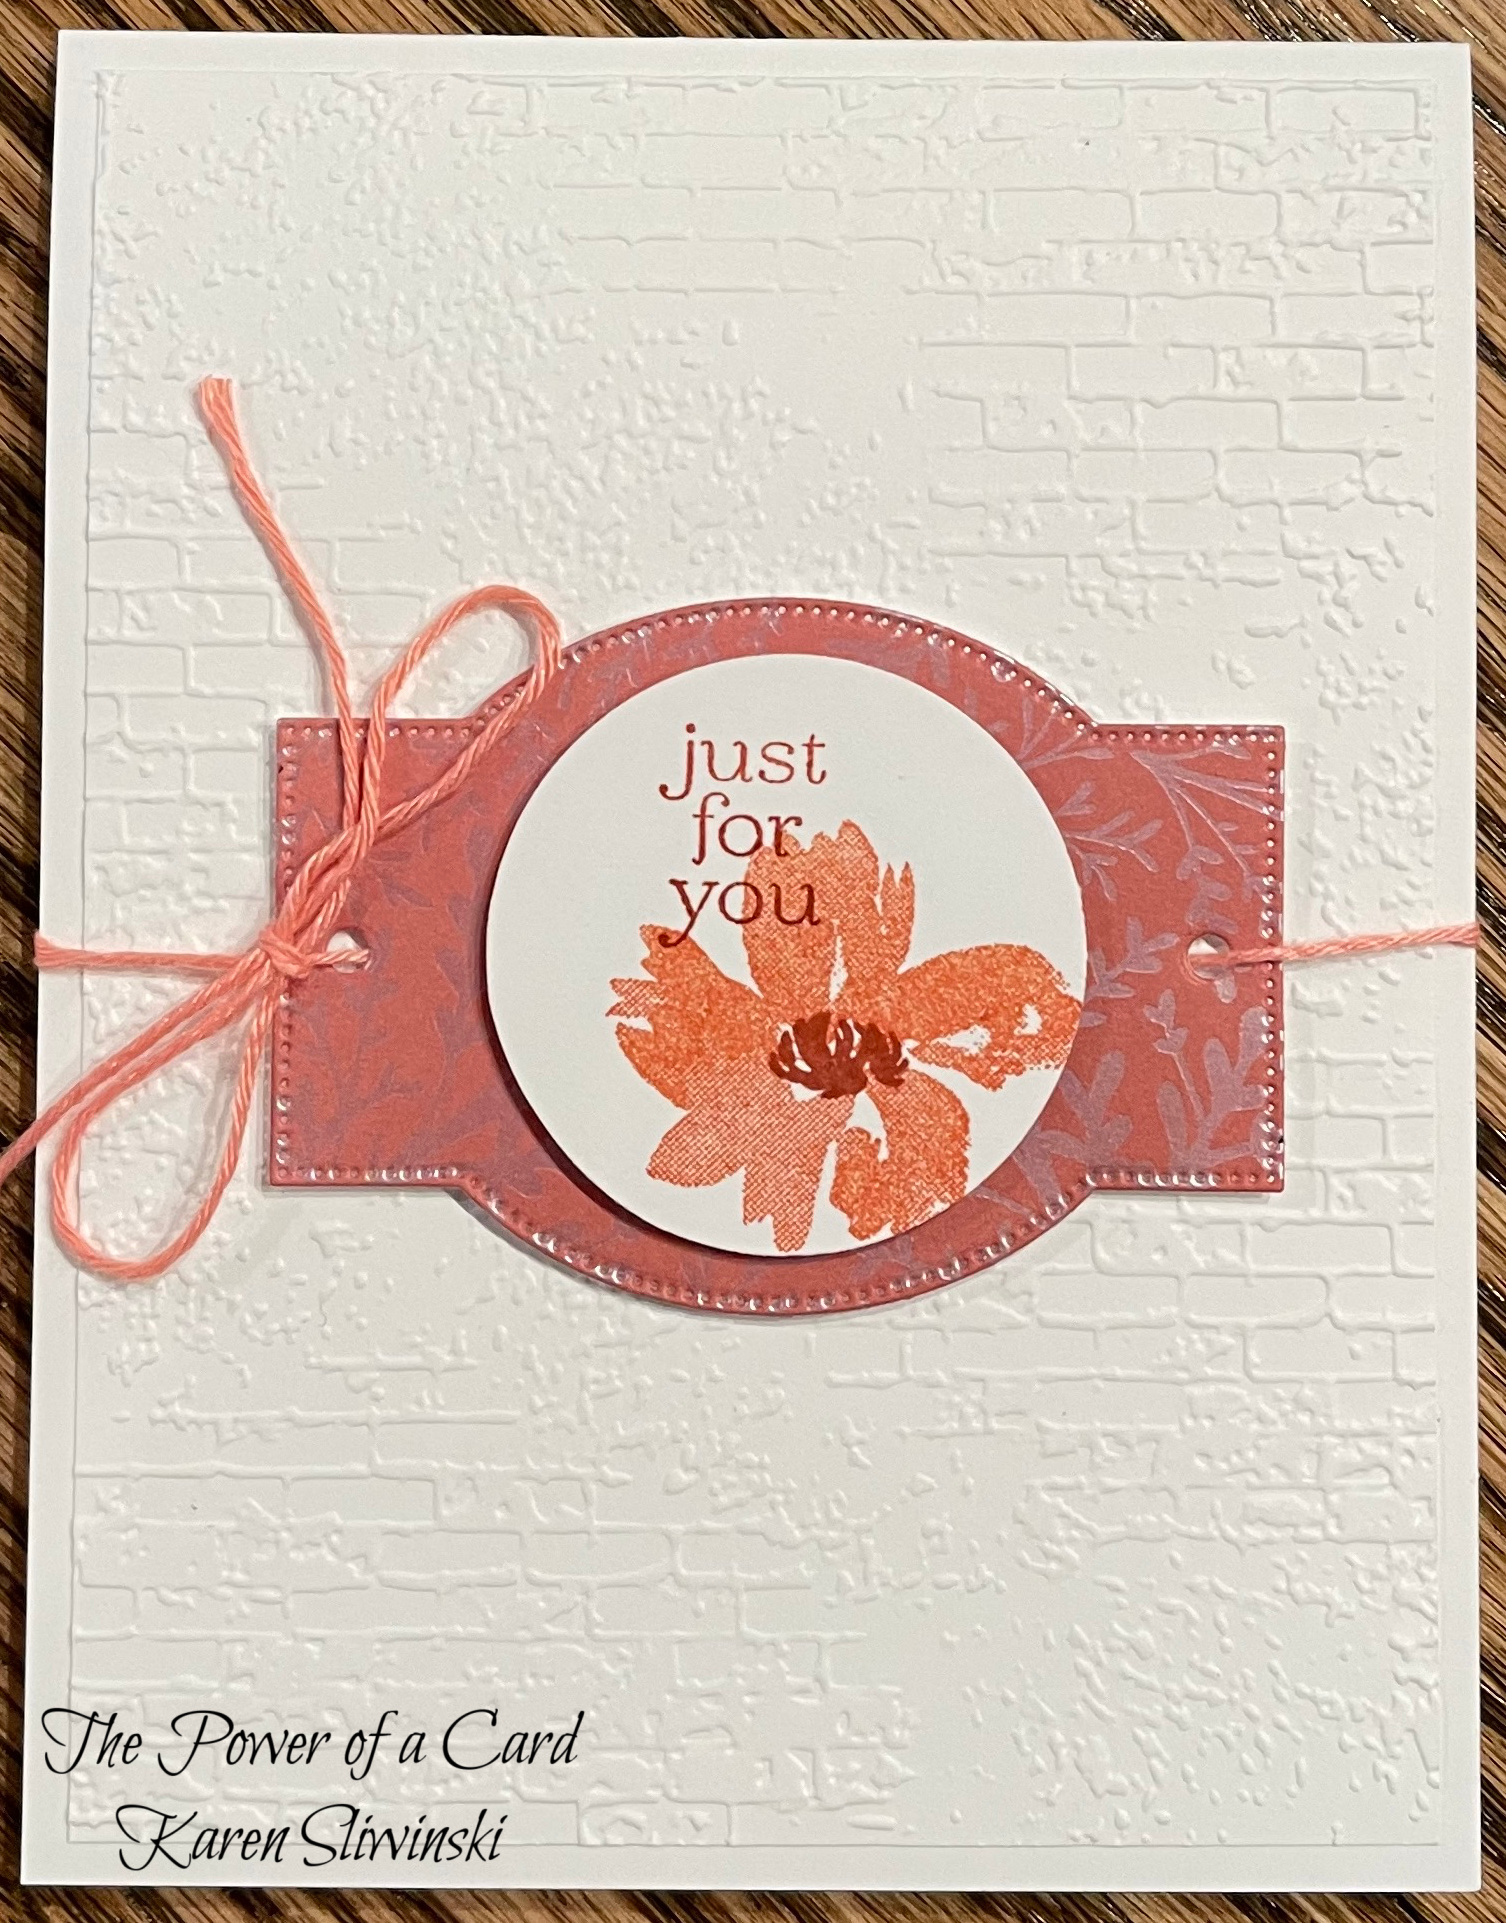
Score the card base at 5-1/2" and fold in half, giving it a good crease with the bone folder.  Emboss the panel of Basic White with the embossing folder and adhere directly to the card front.  To cut the tag/label from the Thoughtful Designs paper, you will need to do partial die cutting.  Since we want holes in both ends of the shape, start with the end with a hole and cut about three quarters of the die shape.  Then turn the die over so the hole can be cut on the other end.  You will feel the die lock into place over the part that is already cut. I did partial cutting again, even though you don't really need to since the other end won't alter the shape of the label.  

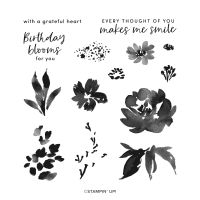
Stamp the medium flower from the Textured Florals stamp set in Lost Lagoon onto the circle cut from the 1-3/4" punch, Then stamp the center part of the flower and sentiment in Pretty Peacock.  Pop the circle up onto the label.  Thread the ribbon through the label and adjust the ribbon so you have the ability to tie a bow on the left side as the ribbon wraps around the card front.  Before actually knotting the ribbon, add dimensionals to the back of the label and center it on the card front.  Then tie the knot and trim the excess ribbon.  

To complete the card, simply add the birthday sentiment and a strip of the DSP along the bottom of the inside of the card.  I finished with another strip of DSP along the left side of the envelope.


My next few cards are Christmas cards - you can never start soon enough on making them!  You'll see lots from the Greetings of the Season stamp set. For the first one, I used the Graceful Greenery Vellum layered over white and matted with Old Olive.  When I cut the label from Pecan Pie, I kept the hole and glued it back in before adding my Pecan Pie & Clear Ribboned Adhesive Backed Dots - this makes it better for sticking them down.  The circle is from Stylish Shapes.


The greenery on the next card might surprise you - it's from the Citrus Blooms Dies.  I cut it out twice - one in Old Olive and another in Mossy Meadow.  Then before layering them together, I rotated one 180 degrees so you can see both colors at once.  For the sentiments, I shortened the labels fit my words, then looped them all together with some linen thread and added them next to my Stylish Shape circle.  I added the Iridescent Foil Gems for a little bling.


This gorgeous gate fold card uses two of the dies!  For the large white one, I used partial die cutting to make a rectangle from the largest tag shape.  I fussy cut some greenery from the Graceful Greenery Vellum and added that to the rectangle.  The other label is added with some Baker's Twine Essentials and the Neutrals Adhesive Backed Sequins pick up the gold from the background, which is the Season of Green & Gold Specialty DSP.  When preparing the card base (4-1/4" x 11"),  score at 2-3/4" from each end and fold to the middle.  Then place the DSP (4"' x 5-1/4") over the folded front, gluing just to one side.  Then trim at the middle edge and adhere the remaining piece to the other side.  I find this is the easiest way to it even and have the pattern match at the middle.  Remember to pop up the white label only on the left side!


The new Filled with Cheer stamp set coordinates with the Filled with Fun Bundle, a previous on-line exclusive release.  I used both of them for this adorable wagon full of gifts.  The wagon, gifts and label were all colored with Blends.  For this tag, I opted to have no holes.  


With this tag, I used the Black and Very Vanilla Large Check Ribbon.  First, I looped a short length of ribbon through the label, then I tied the ribbon around that ribbon to make a bow.  I used Very Vanilla as my card base and the Citrus Blooms bundle for the sentiment and orange.  To color the orange, leaves and flowers, I used Watercolor Pencils and a Blender Pen.  I added the rectangle of Basic Black behind it all to really make it pop.


The Flowering Zinnias DSP makes this card super simple to make!  I cut the largest label from the purple check and added a little rectangle in white for my sentiment.  I fussy cut the flowers to place around the label and added that Iridescent Striped Trim ribbon to finish it off.


This pretty oval label, with no holes, is the perfect spot to add the birthday sentiment (which also uses the Everyday Greetings stamp set).  I used the Country Flowers Bundle with Blends to make my bucket of flowers.  The card base and panel (embossed with the Eyelet 3D embossing folder) are Gray Granite and the bottom strip of DPS is from the Neutrals 6" x 6" pack.


My last two examples feature the longest label.  For the first card, I cut the tag the full length of the die and used the Unbounded Beauty DSP and the 2024-2026 In Color Glimmer Specialty DSP.  I stamped my birthday sentiment in Petunia Pop from the So Sincere stamp set.  More of the Iridescent Striped Trim and the 20204-2026 In Color Shimmer Gems finish off the front.  (I use the Flowers of Beauty stamp set to decorate the inside and envelope).  The second card uses the Everyday Greetings and shortened tags.  My stamping is done in Melon Mambo and Pretty in Pink, which coordinates with the Countryside Rose DSP, a special pack of paper that I earned as an incentive.  (It has all the patterns of the Countryside Inn DSP pack, just in pinks instead of blues.) Some Baker's Twine allowed me to string up the banner for my best friend's birthday card - I hope she likes it!


Hole or no hole, full size or shortened - this die set is a great investment for your craft room!  Combine it with the two greetings stamp sets and you'll have a a great base for many, many cards and occasions.

Karen


ThePowerOfACard@gmail.com

Etsy Shop: The Power of a Card

Shop my Store!

https://www.stampinup.com/?demoid=2219347

https://ThePowerOfACard.blogspot.com

Images Copyright Stampin’ Up!®


Find me on Facebook - The Power of a Card or

Join my Facebook Group (The Power of a Cardmaker):  https://www.facebook.com/groups/1042676296088278/?ref=share


My current host code for August is: 67PHRH2X.

Please use this for orders less than $150 and you’ll get a special treat from me.

For orders over $150, you qualify for host rewards from Stampin’ Up! (plus a treat from me!).


Product List

Christmas Cards in Unexpected Colorways

I love Christmas.  I love making Christmas cards.  I love decorating for Christmas.  And I loved making this video for you!  (Please note, ...