Tuesday, August 20, 2024

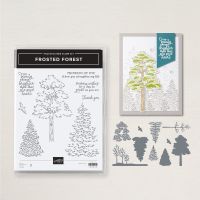
7 Different Ways to Color the Frosted Forest Tree

This video is different from my typical video because I am showing you seven methods to color the same tree from the Frosted Forest Bundle rather than showing you lots of different cards.  After showing you how to do each coloring technique, I will show you how they look on the same card.  I'd love for you to vote and tell me which coloring technique is your favorite, or if any of them are new to you!  

At the end, I selected one of the trees to actually adhere to the card and that photo is shown at the end of the video, as well as here.  I am only listing the basic ingredients at first, but will tell you the additional products as I do each technique.  I have tried my best to use the same colors for each method, but when I couldn't because a particular color wasn't a choice, I used the next closest.  This way, the comparison between the methods will be as fair as possible.

Since many of you are familiar with some of the coloring methods, I have listed the time in the video for the start of each method.  This allows you to easily go to the ones you want to see, or flip back and forth to get to the ones you want to see again.  The times are listed in the description of the video.  I know this video is longer than my normal ones, but I hope you will watch and find it helpful anyway!

Gather your supplies:

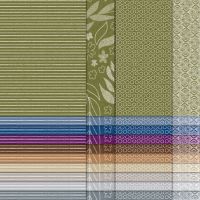
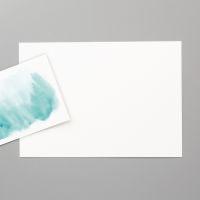
  • Cardstock: Thick Basic White 5-1/2" x 8-1/2"; Basic White or Fluid 100 Watercolor Paper 3-1/4" x 4"; Neutrals 6" x 6" DSP 2-1/2" x 5-1/2", 3/8" x 5-1/2"
  • Stamp Bundle:  Frosted Forest
  • Stamp Set:  Simply Said
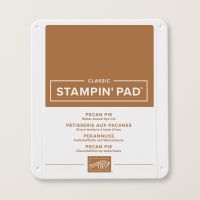
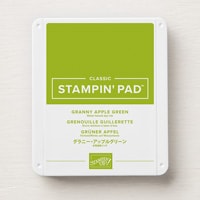
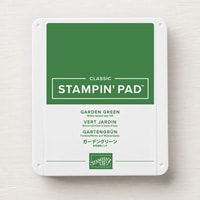
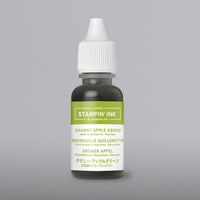
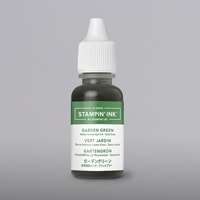
  • Ink: Memento Black, Pecan Pie, Granny Apple Green
  • Stampin' Blend: Smoky Slate
  • Adhesive and Tools
Most of the techniques use the Decorative Masks, also known as stencils, to color the trees.  I started out by stamping the deciduous tree on a piece of either Basic White or Fluid 100 paper in Memento Black or Stazon Black ink.  After making all of my samples, I cut the tree out with the die and show what it looks like on the card.  Let's start with the techniques!


1 - Decorative Masks Plus Blending Brushes

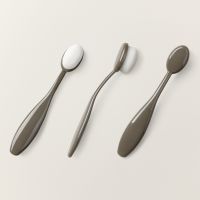
This is probably the most common way stampers use decorative masks to color the images.  I used the Small Blending Brushes to layer my colors, starting with mask 1 and Pecan Pie.  Use a pen or pencil to mark where the notch is after aligning the first stencil.  Then subsequent stencils will align easily by using the notch mark.  Mask 2 is for Granny Apple Green and mask 3 is Garden Green.  It is always best to start out applying light color as you can always add more to deepen the shade.


2 - Decorative Masks Plus Sponge Daubers

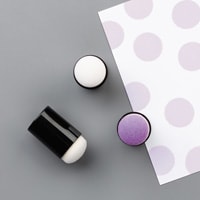
Sponge Daubers will give you a softer blend and a slightly more textured appearance to the tree than blending brushes.  I used the same three colors in the same order of masks.  When using the daubers, simply pounce color onto the cardstock in a tapping motion. 


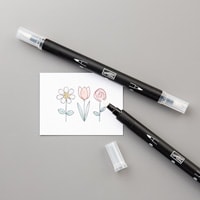
3 - Decorative Masks Plus Stampin' Write Markers

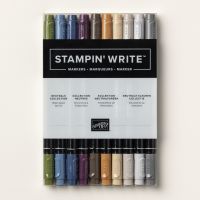
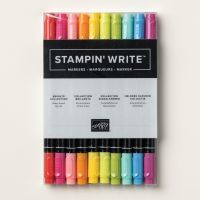
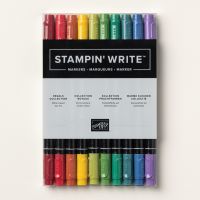
This was a new technique to me.  I saw someone mention this in a post on Facebook (my apologies for not remembering the name of the demonstrator!), and I thought it looked interesting.  For this I used markers in the same three colors and using the brush end of each marker, added color to the stencils.  Then I used a dry flat paint brush to move the color from the mask to the paper.  When I first tried this technique with my Water Painter brush, I found the bristles a little too separated to give a good swipe of color, hence the switch to a flat paint brush.  


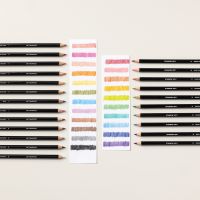
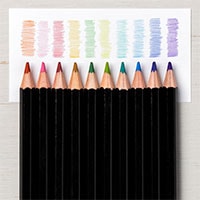
4 - Watercolor Pencils and a Blender Pen

Because I don't have a Pecan Pie pencil, I used Early Espresso and Crushed Curry to color the tree trunk.  The golden tones of Crushed Curry add warmth to the deep brown of Early Espresso and yield a pretty good match to Pecan Pie.  I added both colors before blending with the Blender Pen.  Then I added the two greens and blended.  You don't have to be very precise with applying the pencil lines because the Blender Pen will work it's magic and make it look fabulous!  The resulting tree is not as distinct as the previous samples in the shading (although I think if I really tried, I could have gotten closer if I separated the greens a bit before blending).


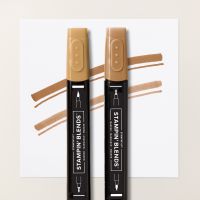
5 - Stampin' Blends

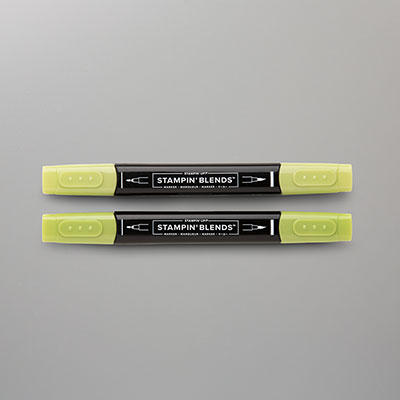
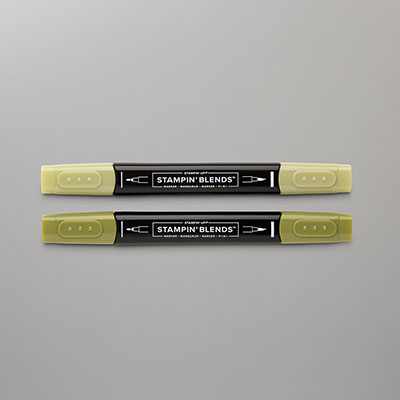
There isn't a Stampin' Blend for Garden Green, so I used Light Old Olive.  I started out adding the lighter tones, then added darker colors.  With the leaves, I didn't fully color the tree with my light Granny Apple Green, but left space for the darker shades.  I just dabbed color on the leaves to yield a mottled look.  At the end, I went back to my Light Granny Apple Green and blended a bit over all three shades.


6 - Water Painter and Ink Pads

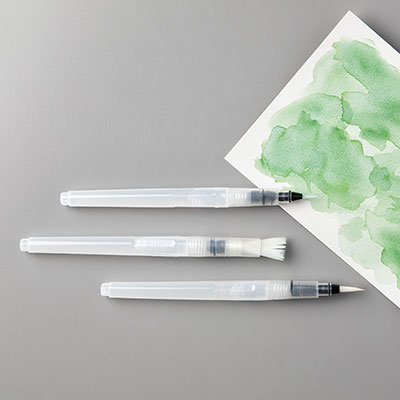
I really love using our inks to watercolor images!  It is important to use watercolor paper and Stazon ink for this sample.  I used clean blocks to pick up all three colors and the smallest size of the Water Painters.  I also like to use a container of water instead of squeezing the painter as I find I have better water control.  You could also use re-inkers to drop a little color onto a block or the lid of your ink pad and this will give you a more vibrant look.


7 - Decorative Masks Plus Shimmery White Embossing Paste

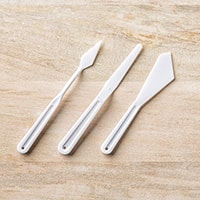
What a great way to add some bling to your trees!  One thing I would recommend before starting this technique is to have a basin of water handy so you can drop your tools into it right after you are done to help with cleanup.  Color the trunk of the tree with a blending brush like we did in the first method.  Take a small amount of the paste with the pointy pallet knife and place it on the Silicone Craft Sheet.  Add a tiny drop of Granny Apple Green re-inker and mix the paste.  Then add it to the card with mask 2.  I like to spread it with the wider palette knife to get a thin layer.  Scrape off any excess and return it to the silicone craft sheet.  Allow the first layer to dry before adding a little Garden Green to the remaining paste for mask 3.  I liked how it looked with just the first layer, but have both ways to show you and you can decide which you like best.  Cleanup will be much easier because you placed the tools in water right away - if you don't, the paste dries and can be difficult to remove from the masks.

Time to decide!  Which coloring technique is your favorite?  Did you learn a new one today?  I hope you've enjoyed this longer than usual, but hopefully informative video!

Karen


ThePowerOfACard@gmail.com

Etsy Shop: The Power of a Card

Shop my Store!

https://www.stampinup.com/?demoid=2219347

https://ThePowerOfACard.blogspot.com

Images Copyright Stampin’ Up!®


My current host code for August is: 67PHRH2X.

Please use this for orders less than $150 and you’ll get a special treat from me.

For orders over $150, you qualify for host rewards from Stampin’ Up! (plus a treat from me!).


Product List

Tuesday, August 6, 2024

Greetings of the Season - Hole or No Hole?

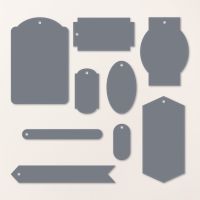
Most of you know that I love dies and this set is a great new addition to my collection.  The Greetings of the Season bundle includes a holiday greetings stamp set and this collection of 9 tags.  However, they don't have to be used as just tags!  There are some fabulous shapes and I will show you how to cut them out without a hole so you can use them as a regular label.  I use partial die cutting (shown in both this video and one of my How Do I video shorts) to get rid of or add holes, along with changing the length of the label/tag.  In my samples, I will also show you some of the other new products in our on-line exclusives line - let's get to it!

 Gather your supplies:

  • Cardstock: Thick Basic White 4-1/4" x 11"; Basic White 4" x 5-1/4", 1-3/4"circle; Thoughtful Designs Specialty DSP 2-3/8" x 3-1/2", 3/4" x 4", 3/4" x 4-1/2"
  • Stamp Sets:  Textured Florals, So Sincere
  • Dies: Greetings of the Season
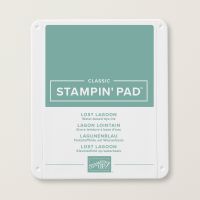
  • Ink:  Lost Lagoon, Pretty Peacock
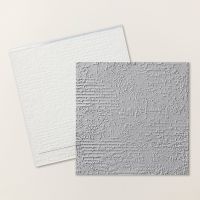
  • Embossing Folder:  Exposed Brick 3D
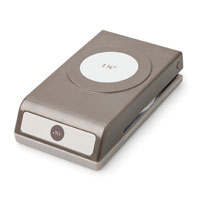
  • Punch: 1-3/4" Circle
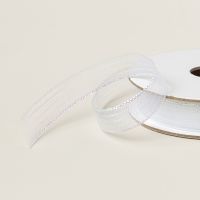
  • Ribbon: Iridescent Striped Trim 15"
  • Adhesive and Tools
Score the card base at 5-1/2" and fold in half, giving it a good crease with the bone folder.  Emboss the panel of Basic White with the embossing folder and adhere directly to the card front.  To cut the tag/label from the Thoughtful Designs paper, you will need to do partial die cutting.  Since we want holes in both ends of the shape, start with the end with a hole and cut about three quarters of the die shape.  Then turn the die over so the hole can be cut on the other end.  You will feel the die lock into place over the part that is already cut. I did partial cutting again, even though you don't really need to since the other end won't alter the shape of the label.  

Stamp the medium flower from the Textured Florals stamp set in Lost Lagoon onto the circle cut from the 1-3/4" punch, Then stamp the center part of the flower and sentiment in Pretty Peacock.  Pop the circle up onto the label.  Thread the ribbon through the label and adjust the ribbon so you have the ability to tie a bow on the left side as the ribbon wraps around the card front.  Before actually knotting the ribbon, add dimensionals to the back of the label and center it on the card front.  Then tie the knot and trim the excess ribbon.  

To complete the card, simply add the birthday sentiment and a strip of the DSP along the bottom of the inside of the card.  I finished with another strip of DSP along the left side of the envelope.


My next few cards are Christmas cards - you can never start soon enough on making them!  You'll see lots from the Greetings of the Season stamp set. For the first one, I used the Graceful Greenery Vellum layered over white and matted with Old Olive.  When I cut the label from Pecan Pie, I kept the hole and glued it back in before adding my Pecan Pie & Clear Ribboned Adhesive Backed Dots - this makes it better for sticking them down.  The circle is from Stylish Shapes.


The greenery on the next card might surprise you - it's from the Citrus Blooms Dies.  I cut it out twice - one in Old Olive and another in Mossy Meadow.  Then before layering them together, I rotated one 180 degrees so you can see both colors at once.  For the sentiments, I shortened the labels fit my words, then looped them all together with some linen thread and added them next to my Stylish Shape circle.  I added the Iridescent Foil Gems for a little bling.


This gorgeous gate fold card uses two of the dies!  For the large white one, I used partial die cutting to make a rectangle from the largest tag shape.  I fussy cut some greenery from the Graceful Greenery Vellum and added that to the rectangle.  The other label is added with some Baker's Twine Essentials and the Neutrals Adhesive Backed Sequins pick up the gold from the background, which is the Season of Green & Gold Specialty DSP.  When preparing the card base (4-1/4" x 11"),  score at 2-3/4" from each end and fold to the middle.  Then place the DSP (4"' x 5-1/4") over the folded front, gluing just to one side.  Then trim at the middle edge and adhere the remaining piece to the other side.  I find this is the easiest way to it even and have the pattern match at the middle.  Remember to pop up the white label only on the left side!


The new Filled with Cheer stamp set coordinates with the Filled with Fun Bundle, a previous on-line exclusive release.  I used both of them for this adorable wagon full of gifts.  The wagon, gifts and label were all colored with Blends.  For this tag, I opted to have no holes.  


With this tag, I used the Black and Very Vanilla Large Check Ribbon.  First, I looped a short length of ribbon through the label, then I tied the ribbon around that ribbon to make a bow.  I used Very Vanilla as my card base and the Citrus Blooms bundle for the sentiment and orange.  To color the orange, leaves and flowers, I used Watercolor Pencils and a Blender Pen.  I added the rectangle of Basic Black behind it all to really make it pop.


The Flowering Zinnias DSP makes this card super simple to make!  I cut the largest label from the purple check and added a little rectangle in white for my sentiment.  I fussy cut the flowers to place around the label and added that Iridescent Striped Trim ribbon to finish it off.


This pretty oval label, with no holes, is the perfect spot to add the birthday sentiment (which also uses the Everyday Greetings stamp set).  I used the Country Flowers Bundle with Blends to make my bucket of flowers.  The card base and panel (embossed with the Eyelet 3D embossing folder) are Gray Granite and the bottom strip of DPS is from the Neutrals 6" x 6" pack.


My last two examples feature the longest label.  For the first card, I cut the tag the full length of the die and used the Unbounded Beauty DSP and the 2024-2026 In Color Glimmer Specialty DSP.  I stamped my birthday sentiment in Petunia Pop from the So Sincere stamp set.  More of the Iridescent Striped Trim and the 20204-2026 In Color Shimmer Gems finish off the front.  (I use the Flowers of Beauty stamp set to decorate the inside and envelope).  The second card uses the Everyday Greetings and shortened tags.  My stamping is done in Melon Mambo and Pretty in Pink, which coordinates with the Countryside Rose DSP, a special pack of paper that I earned as an incentive.  (It has all the patterns of the Countryside Inn DSP pack, just in pinks instead of blues.) Some Baker's Twine allowed me to string up the banner for my best friend's birthday card - I hope she likes it!


Hole or no hole, full size or shortened - this die set is a great investment for your craft room!  Combine it with the two greetings stamp sets and you'll have a a great base for many, many cards and occasions.

Karen


ThePowerOfACard@gmail.com

Etsy Shop: The Power of a Card

Shop my Store!

https://www.stampinup.com/?demoid=2219347

https://ThePowerOfACard.blogspot.com

Images Copyright Stampin’ Up!®


Find me on Facebook - The Power of a Card or

Join my Facebook Group (The Power of a Cardmaker):  https://www.facebook.com/groups/1042676296088278/?ref=share


My current host code for August is: 67PHRH2X.

Please use this for orders less than $150 and you’ll get a special treat from me.

For orders over $150, you qualify for host rewards from Stampin’ Up! (plus a treat from me!).


Product List

Die Cut Masks and Ink Spritzing Technique

I recently learned this technique from a Barb Mullikin, a demonstrator friend of mine and I thought I'd give it a try.  I had so much fu...