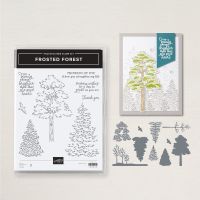
This video is different from my typical video because I am showing you seven methods to color the same tree from the Frosted Forest Bundle rather than showing you lots of different cards. After showing you how to do each coloring technique, I will show you how they look on the same card. I'd love for you to vote and tell me which coloring technique is your favorite, or if any of them are new to you!
At the end, I selected one of the trees to actually adhere to the card and that photo is shown at the end of the video, as well as here. I am only listing the basic ingredients at first, but will tell you the additional products as I do each technique. I have tried my best to use the same colors for each method, but when I couldn't because a particular color wasn't a choice, I used the next closest. This way, the comparison between the methods will be as fair as possible.
Since many of you are familiar with some of the coloring methods, I have listed the time in the video for the start of each method. This allows you to easily go to the ones you want to see, or flip back and forth to get to the ones you want to see again. The times are listed in the description of the video. I know this video is longer than my normal ones, but I hope you will watch and find it helpful anyway!
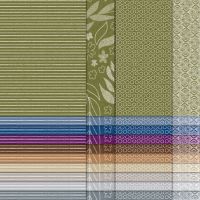
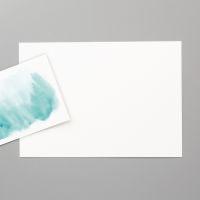
Gather your supplies:- Cardstock: Thick Basic White 5-1/2" x 8-1/2"; Basic White or Fluid 100 Watercolor Paper 3-1/4" x 4"; Neutrals 6" x 6" DSP 2-1/2" x 5-1/2", 3/8" x 5-1/2"
- Stamp Bundle: Frosted Forest
- Stamp Set: Simply Said
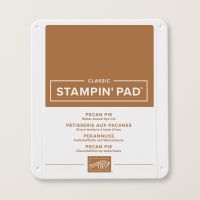
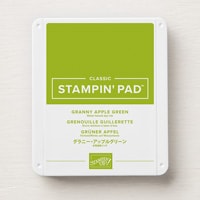
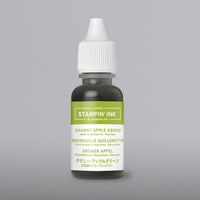
- Ink: Memento Black, Pecan Pie, Granny Apple Green
- Stampin' Blend: Smoky Slate
- Adhesive and Tools
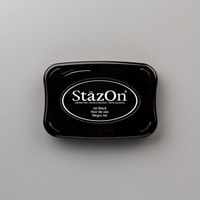
Most of the techniques use the Decorative Masks, also known as stencils, to color the trees. I started out by stamping the deciduous tree on a piece of either Basic White or Fluid 100 paper in Memento Black or Stazon Black ink. After making all of my samples, I cut the tree out with the die and show what it looks like on the card. Let's start with the techniques!
1 - Decorative Masks Plus Blending Brushes
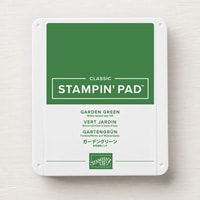
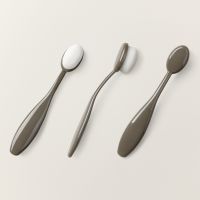
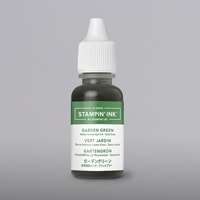
This is probably the most common way stampers use decorative masks to color the images. I used the Small Blending Brushes to layer my colors, starting with mask 1 and Pecan Pie. Use a pen or pencil to mark where the notch is after aligning the first stencil. Then subsequent stencils will align easily by using the notch mark. Mask 2 is for Granny Apple Green and mask 3 is Garden Green. It is always best to start out applying light color as you can always add more to deepen the shade.
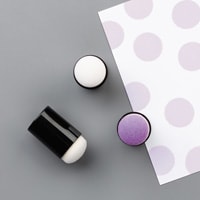
2 - Decorative Masks Plus Sponge Daubers
Sponge Daubers will give you a softer blend and a slightly more textured appearance to the tree than blending brushes. I used the same three colors in the same order of masks. When using the daubers, simply pounce color onto the cardstock in a tapping motion.
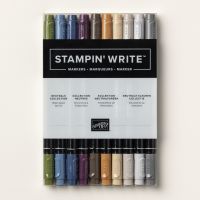
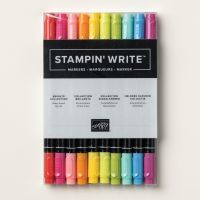
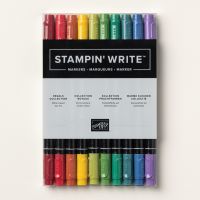
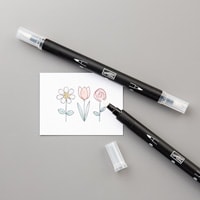
3 - Decorative Masks Plus Stampin' Write Markers
This was a new technique to me. I saw someone mention this in a post on Facebook (my apologies for not remembering the name of the demonstrator!), and I thought it looked interesting. For this I used markers in the same three colors and using the brush end of each marker, added color to the stencils. Then I used a dry flat paint brush to move the color from the mask to the paper. When I first tried this technique with my Water Painter brush, I found the bristles a little too separated to give a good swipe of color, hence the switch to a flat paint brush.
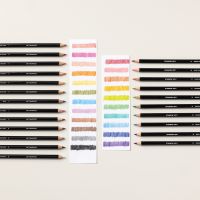
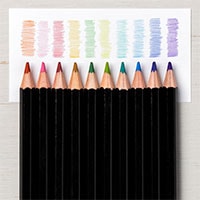
4 - Watercolor Pencils and a Blender Pen
Because I don't have a Pecan Pie pencil, I used Early Espresso and Crushed Curry to color the tree trunk. The golden tones of Crushed Curry add warmth to the deep brown of Early Espresso and yield a pretty good match to Pecan Pie. I added both colors before blending with the Blender Pen. Then I added the two greens and blended. You don't have to be very precise with applying the pencil lines because the Blender Pen will work it's magic and make it look fabulous! The resulting tree is not as distinct as the previous samples in the shading (although I think if I really tried, I could have gotten closer if I separated the greens a bit before blending).
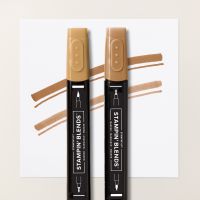
5 - Stampin' Blends
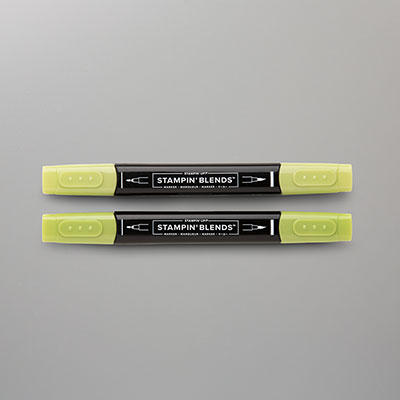
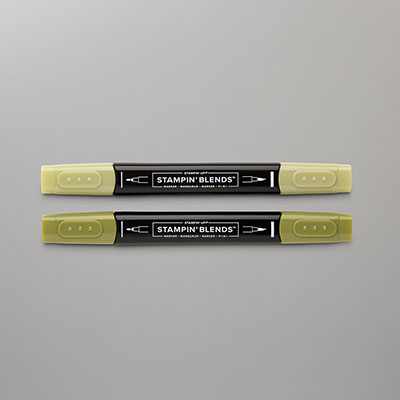
There isn't a Stampin' Blend for Garden Green, so I used Light Old Olive. I started out adding the lighter tones, then added darker colors. With the leaves, I didn't fully color the tree with my light Granny Apple Green, but left space for the darker shades. I just dabbed color on the leaves to yield a mottled look. At the end, I went back to my Light Granny Apple Green and blended a bit over all three shades.
6 - Water Painter and Ink Pads
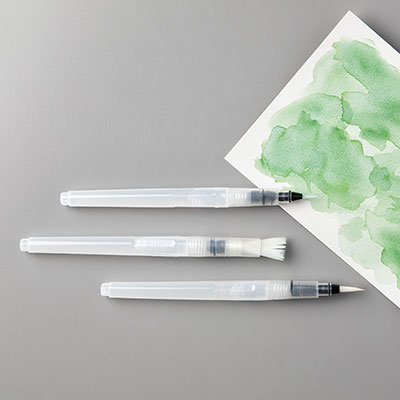
I really love using our inks to watercolor images! It is important to use watercolor paper and Stazon ink for this sample. I used clean blocks to pick up all three colors and the smallest size of the Water Painters. I also like to use a container of water instead of squeezing the painter as I find I have better water control. You could also use re-inkers to drop a little color onto a block or the lid of your ink pad and this will give you a more vibrant look.
7 - Decorative Masks Plus Shimmery White Embossing Paste
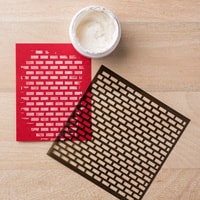
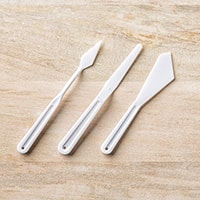
What a great way to add some bling to your trees! One thing I would recommend before starting this technique is to have a basin of water handy so you can drop your tools into it right after you are done to help with cleanup. Color the trunk of the tree with a blending brush like we did in the first method. Take a small amount of the paste with the pointy pallet knife and place it on the Silicone Craft Sheet. Add a tiny drop of Granny Apple Green re-inker and mix the paste. Then add it to the card with mask 2. I like to spread it with the wider palette knife to get a thin layer. Scrape off any excess and return it to the silicone craft sheet. Allow the first layer to dry before adding a little Garden Green to the remaining paste for mask 3. I liked how it looked with just the first layer, but have both ways to show you and you can decide which you like best. Cleanup will be much easier because you placed the tools in water right away - if you don't, the paste dries and can be difficult to remove from the masks.
Time to decide! Which coloring technique is your favorite? Did you learn a new one today? I hope you've enjoyed this longer than usual, but hopefully informative
video!
My current host code for August is: 67PHRH2X.
Please use this for orders less than $150 and you’ll get a special treat from me.
For orders over $150, you qualify for host rewards from Stampin’ Up! (plus a treat from me!).







No comments:
Post a Comment