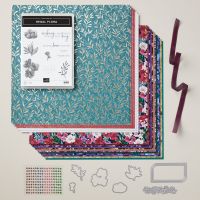
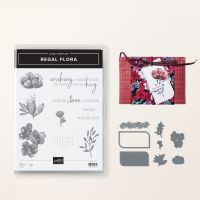
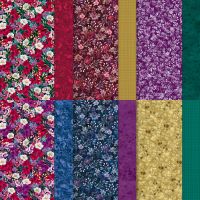
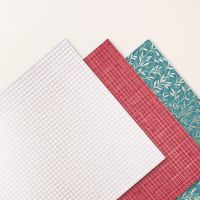
When I saw this suite of products, it was love at first glance! The distinctive stamp set design for the stamps makes such stunning botanical images. However, I think the stars of the suite are the two packs of Designer Series Paper (DSP) - Regal Distressed patterns (with gold foil embossing) and the Regal Winter pack with stunning jewel tone florals and subtle patterns.
I had a lot of fun making cards for this video. Since there are only four sentiments in this stamp set, I did use several other sets for my samples - Kindest Expressions, Everyday Greetings, Happiest Day and Greetings of the Season. I also used new Cherry Cobbler and Gold Satin ribbon - it's similar to the Blackberry Bliss ribbon from this suite, but narrower and smoother texture. I am not going to give a lot of detail for the card samples unless I did something that you might not pick up just by a quick look at the photo. I really hope you love this suite as much as I do!
Gather your supplies:
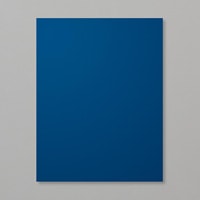
- Cardstock: Night of Navy 8-1/4" x 4-1/4"(scored at 2-3/4"), 8-1/2" x 2-3/4" (scored at 3-1/2" and 4-1/4"); Regal Winter DSP 4" x 5-1/4" (blue floral), 4" x 2-1/2", 5/8" x 2-1/2" and 1/2" x 2-1/2" (red floral); Basic White (2) 2-1/2" x 3-1/4"
- Stamp Set: Regal Flora
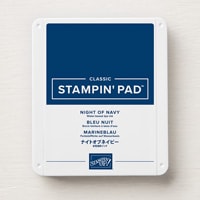
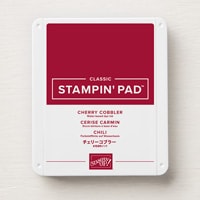
- Inks: Night of Navy, Cherry Cobbler
- Ribbon: Cherry Cobbler & Gold Satin 8"
- Adhesive and Tools
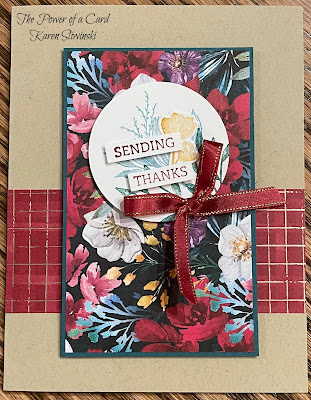
This card layout is one of my favorites because it has a big wow factor, but is quite simple to put together. It is also great for showcasing your DSP, which for this suite of products, it a big plus. There are two parts to the card base, which isn't your typical half sheet of paper. Normally, you cut your full sheet of card stock in half, but for this one, cut at 4-1/4", then another at 2-3/4" so you end up with two pieces that are 8-1/2" wide. Cut 1/2" off the larger one so that it measures 4-1/4" x 8-1/4" - then score this piece at 2-3/4". This will be the base of your card.
For the second piece of Night of Navy, score it in two places - 4-1/4" and 3-1/2". This will be the book binding flap we place on the front of the card. Next, layer the pieces of DSP. Start with the large Navy floral - place this on the card base (the flap is on the right side). Close the flap and add the large piece of Cherry Cobbler paper. On the left side of the folded Navy cardstock, add the 5/8" DSP strip right along the fold line. Before gluing this section together, add at the ribbon and tie in a knot. When you glue this section together, you'll have the book binding portion of the card.
On the first Basic White panel, stamp the sentiment in Night of Navy. Then add the flowers around the edges with Cherry Cobbler. Adhere this to the top of the book binding portion. On the second piece of White, add the 1/2" piece of DSP to the right hand side. Stamp the sentiment. If your sentiment is too long like mine was, you can use a sticky note to cover up part of the sentiment before inking. Just remember to remove the sticky note before you stamp! Clean the stamp and cover up the other portion before inking so you can complete the saying. Adhere this to the inside of the book binding portion.
To finish the card, open the flap and add the book binding portion to the center of the floral DSP with the ribboned side to the left. This flap opens toward the left. Close the right flap of the base over the inside of the book binding part, then close the book binding flap. Sounds complicated, but it isn't as you'll see in the
video. Stamp more flowers on the corner of the envelope and your beautiful card is done!
The first card I made used both paper packs from this suite and while I used the same layout, the "feel" of the card is more sophisticated or masculine. I used tones of Pretty Peacock instead of florals (and the lovely Pretty Peacock & Gold Metallic Ribbon). I stamped sprigs of leaves and added the little dots to give additional texture. I feel that you could easily send this to a guy friend/family member as a sympathy card.
My first sample comes directly from the catalog! I mention this because while I normally design all my cards from scratch, I want to encourage you to take what you see (the SU catalogs are chock full of wonderful examples and I try to show lots of ideas in my videos and Facebook group) and use it to spark your creativity. If you look at the catalog on page 34, you'll see that I changed the colors and sentiment and added gold Enamel Effects instead of the embellishments from this suite. Remember - it's OK to CASE (copy and share everything) when it comes to card making!
These next few cards are pretty self explanatory - lots of ways to showcase the paper and stamps!
The die cut label makes two pieces with one cut - a small outer "frame" and the main body of the label. In this card, I used just the outside frame in Basic White. I embossed the sentiment on the DSP and adhered the frame around it. I stamped and die cut some flowers/greenery to add to the bottom of the frame - it makes a striking card front. For the envelope and inside of the card, I masked off abut an inch or so, then stamped the flower and dots down the length. By having a shorter front flap of the card, this border of flowers almost looks like additional DSP.
I have to admit that I struggled a bit with the die cut strip of flowers. In the catalog, they cut these out of DSP and use them as a background for the sentiment label. What I came up with was cutting it out in White, then coloring it with Blending Brushes, first in Petal Pink, then a little Berry Burst. This subtle combination looks great with the DSP I chose for the center panel of the card. The other thing I did was shorten the label die cut to show off more of the floral paper behind it. Pretty good way to show it off!
My last two cards are for Christmas. So while this suite isn't designed specifically for Christmas, you can see how beautifully it works with the Greetings of the Season stamp set! The gold foiling is simply elegant, while the dark greens and reds of the Regal Winter DSP look so wonderful on that Cherry Cobbler card base. I particularly love the ribbon on this card!
There you have it! These products are available for purchase on September 4th. Since I created this
video and blog post ahead of time, my links to the products may not be shown below immediately. I will update them as soon as possible (probably right after work on Wednesday).
Karen
ThePowerOfACard@gmail.com
Etsy Shop: The Power of a Card
Shop my Store!
https://www.stampinup.com/?demoid=2219347
https://ThePowerOfACard.blogspot.com
Images Copyright Stampin’ Up!®
Find me on Facebook - The Power of a Card or
Join my Facebook Group (The Power of a Cardmaker): https://www.facebook.com/groups/1042676296088278/?ref=share
My current host code for September is: AKM44ZQW.
Please use this for orders less than $150 and you’ll get a special treat from me.
For orders over $150, you qualify for host rewards from Stampin’ Up! (plus a treat from me!).







No comments:
Post a Comment