At my card class for October, I had a card made with strips of the Season of Green & Gold DSP and I really loved it. After seeing how everyone at the class loved it too, I was inspired to make this video. I wanted to feature a bunch of cards, all of them using 1/2" strips. I made a few, then a few more, and finally made myself stop at a dozen (but I could have gone on!).
I love that you can get so much with so little paper! This is especially great for making Christmas cards (or any holiday where you make a lot of them). Additionally, they are easy to do, allow you to show up multiple patterns on one card, and help you use up scraps. For the video, I used all the same width of strips, but you could vary the thickness of the strips to suit your taste. You could also use cardstock instead of patterned paper - perhaps emboss it or ink it with stamped images.
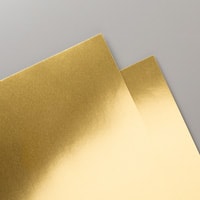
Gather your supplies:- Cardstock: Thick Basic White 8-1/2" x 5-1/2"(scored at 4-1/4"); Basic White 4" x 5-1/4" and 1/2" strip for sentiment; Season of Elegance Specialty DSP 1/2" strips; scrap Gold Foil
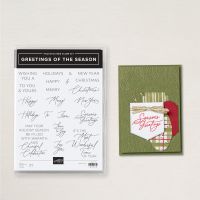
- Stamp: Greetings of the Season
- Die: Stylish Shapes
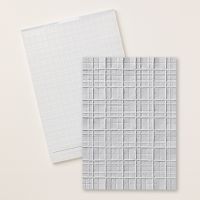
- Embossing Forever Plaid 3D
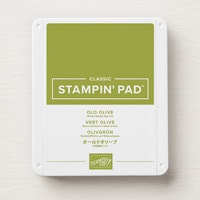
- Inks: Versamark, Old Olive
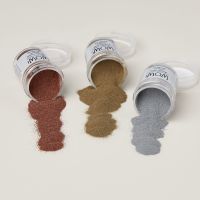
- Embellishment: Metallics Wow! Embossing Powder
- Gold Twisted Thread 12"
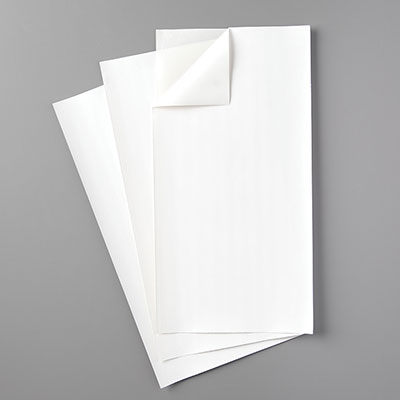
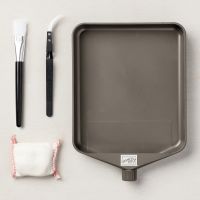
- Adhesive and Tools including Adhesive Sheets
To make the ornament, I used the largest stitched circle from the Stylish Shapes die set and a piece of Adhesive Sheet cut about 3-1/2" square. I then held the die on the sheet and trimmed loosely around the circle. After peeling off the backing, add the first strip down near the center. Trim off the strip and place the next one down directly next to the first one. Continue placing strips, until the adhesive sheet is covered.
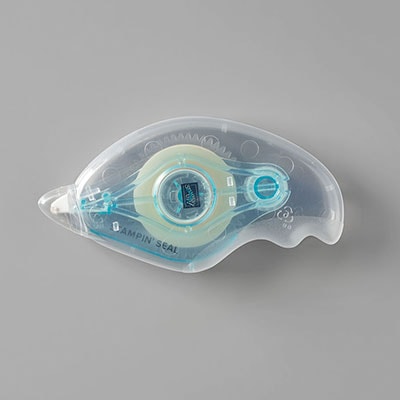
Use the die to cut out the ornament on the Stampin' Cut & Emboss machine. While there, emboss the panel of Basic White with the Forever Paid embossing folder. Before adhering the ornament to the embossed panel, add a small piece of Gold Twisted Thread (part of the November release of Online Exclusives) so it is adhered to the back and wraps around the front as the string of the ornament. I like to use Seal to stick it down. Then you can add the ornament with Dimensionals. As a final touch, cut the scrap of Gold Foil into an ornament topper (I even did a wavy bottom) and adhere this with Mini Dimensionals. Tie a bow with the Gold Twisted Thread and add this with a rolled up Mini Glue Dot.
Use Versamark ink to stamp the sentiment on the strip of Basic White. Then apply gold embossing powder and use the Heat Tool to set. Trim the ends as shown and pop this up below the ornament. Stamp the sentiments on the inside and envelope to complete the card.
This next card was the one I made at my October Card Class and is the inspiration for this
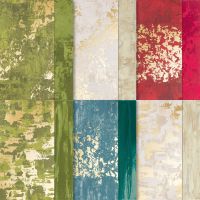
video. I used the Season of Green & Gold, paired with Very Vanilla and Old Olive cardstock. A helpful tip is to determine where you want your first strip and place another piece of paper to the left of it. Then run a line of glue about 1/4" from that paper. When you add the first strip, you will only have glue on the Vanilla panel and not any extra on the DSP, keeping your strips glue free! You can choose to trim as you go, or trim after all the strips are added. I left a small space between my patterns. All the sentiments are from the Peaceful Season stamp set.
The next card is essentially the same layout, only with a vertical orientation. I love the bright traditional colors in the Take A Bow DSP pack, which really pop with Granny Apple Green cardstock. The tree and sentiments are from the Decorative Trees Bundle.
This card is made with a base of Basic Beige, which is the third color in the Season of Elegance Paper. The three strips bisect the card left to right and all I added was a die cut tree and the sentiment. The tree is from Peaceful Evergreens, the label is from Greetings of the Season Dies and the sentiment is from Peaceful Season. I like how this color palette is gentle and earthy.
Flipping this layout to a vertical orientation, here's my melting snowman from the Filled with Cheer stamp set. For this card, I placed the three strips right next to each other like I did for the ornament. Having a gap or no gap is personal preference and for me, often depends on the patterns in the paper. A helpful tip with the snowman - ink with black ink, then use the Simply Shammy to "erase" the bottom line of the image. This way, the snowman looks like he's just out in the snow rather than a puddle of melting snow. I lightly colored the images with Watercolor Pencils, leaving portions uncolored. A coat of Wink of Stella on the snow adds a nice touch. The inside Merry Christmas is from Greetings of the Season.
For this elegant card, I used paper from three different packs - Season of Elegance, Season of Green & Gold and Regal Distressed Patterns. I love the coordination of our products! Cut the circle opening with the same die we used for the ornament on a panel that is 4" x 5-1/4". Set this on the card front and lightly trace the circle with a pencil. Add the center strip, extending just beyond the pencil lines. Add the remaining strips to complete the circle. Emboss the white panel (I used Distressed Tiles) and pop this up on the card front. I used Foam Adhesive Strips because this gives additional support to prevent sagging. The sentiments and dies are from the Peaceful Season Bundle.
Because I wanted the strips on this card to be symmetrical, I cut a piece of scrap paper the same size as the white panel. Then I folded the paper over in the corner to the desired position of the strip and cut off that triangle. I cut off the same size triangle on the opposite corner. The piece that remained allowed me to add my longest strips perfectly. The DSP is the Graceful Greenery Vellum and a tip for adhering them is to add a line of glue, smooth it out with your finger and then add the strip. The adhesive won't be seen through the vellum. The Christmas Labels Bundle and Greetings of the Season were used for the label and inside sentiment.
My next layout only has a little bit of strips, and they are sandwiched between the two layers. I added the Season of Elegance strips to the back of the white layer, which is popped up on the Pretty Peacock layer. I stamped the tree from Peaceful Evergreens twice; cutting one out with the outline and the other with the layering/interior piece. I then adhered the layering piece with rolled up Mini Glue Dots, which adds just a touch of dimension. The sentiments are from Peaceful Season. The Pretty Peacock & Gold Metallic ribbon is the perfect accompaniment. For the inside, I ran Seal all along the edge, making sure to get the ends of the card to hold the ribbon firmly in place.
This one is bright and glittery because I used the Festive Glimmer pack! I placed the strips horizontally in the center of my white panel and then glued that onto a black base which really makes it pop! The Sweetest Star bundle was the perfect addition for this card. To make the hat and outfit of Santa, stamp the design on the back of the Glimmer paper. Then fussy cut the pieces for paper piecing. Color the rest of the Santa with Blends. I also colored about the edges of the outfit with Cherry Cobbler to mask any imperfections with cutting or the slight difference in symmetry of the beard. I wish you could see this one in person! It's really hard to photograph the glimmer paper (that's why it looks a little yellow because I was trying to get the colors of the strips to look more like they do in real life).

I borrowed the peppermint latte stamps from the More Than Autumn Bundle and paired it with the Christmas Labels and More Wishes stamps. This layout is a variation of the previous one, just placed at the bottom of the card panel. I used Take a Bow and Graceful Greenery Vellum packs and I really like how the vellum provides a place for my latte while still showing the paper underneath.

I cut the strips of paper about 1/2" shorter than the height and width of my card base from the Regal Winter DSP pack. Then I wove the strips using my Glass Matt (or you could use grid paper) to keep them straight. After they were woven, it was easy to turn them over and add a little transparent tape to hold them together. I could then add my glue and move it to the card front. The label is from a circle punch and the sentiment is from Christmas Labels, A few iridescent gems and ribbon add just the right touch of bling. I stamped Merry Christmas from Greetings of the Season and added a few more thin strips on the inside.
My last card doesn't even feature Christmas paper, but uses the Country Woods instead. I used the Trucking Along Bundle to decorate a tag from the Nested Essentials Dies (extended to make it longer). A helpful tip for the truck - when you punch it out, it will have a white border all around the stamp. Use your snips to trim right to the line so that when you add the presents, you won't have that white border blocking the gifts.

f
Whew! That was a lot of cards which I hope, gives you plenty of inspiration to make your Christmas cards now and more cards all year long!
Karen
ThePowerOfACard@gmail.com
Etsy Shop: The Power of a Card
Shop my Store!
https://ThePowerOfACard.blogspot.com
Images Copyright Stampin’ Up!®
Find me on Facebook - The Power of a Card or
Join my Facebook Group (The Power of a Cardmaker): https://www.facebook.com/groups/1042676296088278/?ref=share
My current host code for November is: WASBHZGS.
Please use this for orders less than $150 and you’ll get a special treat from me.
For orders over $150, you qualify for host rewards from Stampin’ Up! (plus a treat from me!).










No comments:
Post a Comment