As Christmas is fast approaching, I wanted to show you how to make a gift set of embossed cards with supplies I'm sure you already have. You'll need just neutral cardstock, embossing folders (a variety or even just one) and a sentiment stamp set. My goal is to show you how a simple design, done as a set, looks wonderful and makes a gift anyone would love.
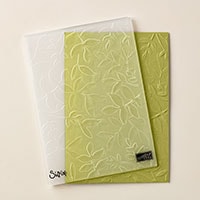
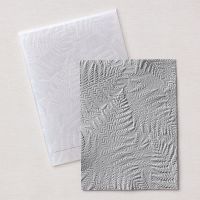
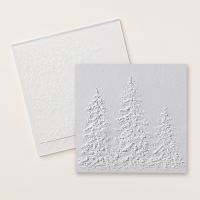
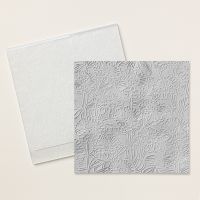
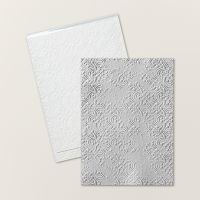
The first set I made was done with Crumb Cake and used Layered Florals, Fern, Painted Tres, Zinnia and Distressed Tile folders (also linked below). I added a layer of white for the inside and left that plain with the exception of a 1/2" embossed strip in Crumb Cake. For my video, I selected five different embossing folders (and there were many I didn't use!). I added a strip of embossed white on the inside and while it's not colorful, it adds a great finishing touch. On all of them, I embossed the flap of the envelope to match.
I used a few products from the Last Chance List (check it out - there are some great deals and some products I am sad to see leave), and one that is not released yet. I recommend you make several sets at the same time - once you're in the mode of embossing, it will go quickly. I used some pretty ribbon to tie the set together and just like that, I have a great gift.
Gather your supplies:- Cardstock: (5) Thick Basic White 8-1/2" x 5-1/2"(scored at 4-1/4"); (5) Basic White 4" x 5-1/4" and 1/2" strips - the size will depend on which orientation you emboss your front panel
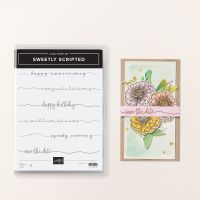
- Stamp: Sweetly Scripted
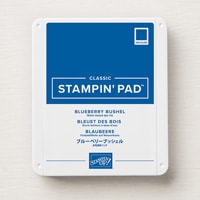
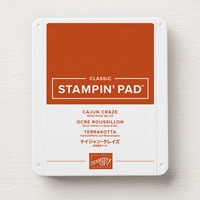
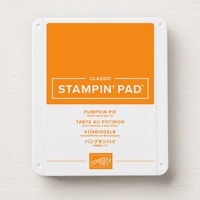
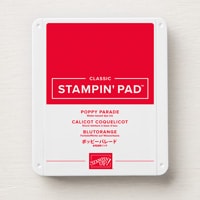
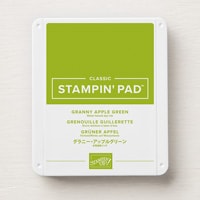
- Inks: Blueberry Bushel, Cajun Craze, Pumpkin Pie, Poppy Parade and Granny Apple Green
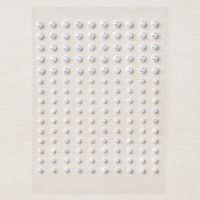
- Embellishment: Iridescent Pearls Basic Jewels
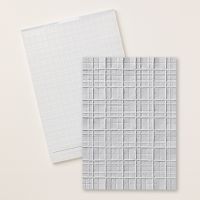
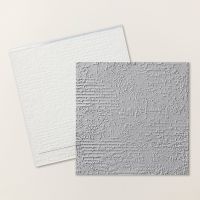
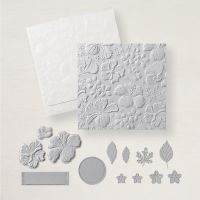
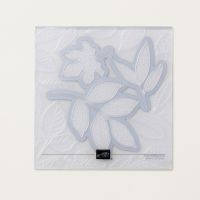
- Embossing Folders: Forever Plaid, Exposed Brick, Beautiful Butterflies (coming in January!), Happy Hibiscus and Changing Leaves
- Adhesive and Tools
Karen
ThePowerOfACard@gmail.com
Etsy Shop: The Power of a Card
https://ThePowerOfACard.blogspot.com
Images Copyright Stampin’ Up!®
Find me on Facebook - The Power of a Card or
Join my Facebook Group (The Power of a Cardmaker): https://www.facebook.com/groups/1042676296088278/?ref=share
My current host code for December is: CHUN4MBB.
Please use this for orders less than $150 and you’ll get a special treat from me.
For orders over $150, you qualify for host rewards from Stampin’ Up! (plus a treat from me!).






No comments:
Post a Comment