Gate Fold cards are the easiest fun folds to make and my go-to method for keeping them closed is a belly band. However, there are other ways to accomplish this and my video will show them to you. While I display all of my samples, I will also be showing you many of the new products released in November! These are from the newest Online Exclusives and Hot Foil line - I know you will love them!
Gather your supplies:
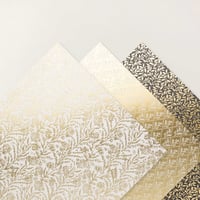
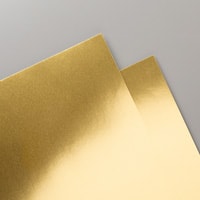
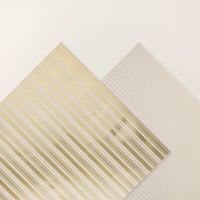
- Cardstock: Basic Black 8-1/2" x 5-1/2" scored at 2-1/8"; Basic White 4" x 5-1/4"; Gold Foil Sheet 4" square, cut diagonally, 3-3/4" x 5"; Truly Timeless Specialty DSP 3-3/4" square, cut diagonally; Gold Striped Vellum Specialty DSP 2-1/2" x 4"
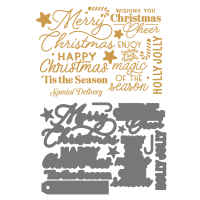
- Hot Foil Die: Magical Christmas
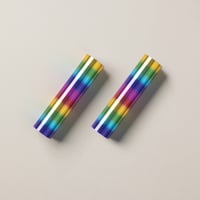
- Hot Foil Roll: Black
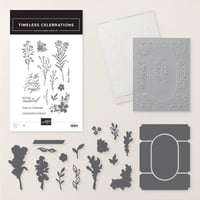
- Die: Timeless Celebrations Hybrid
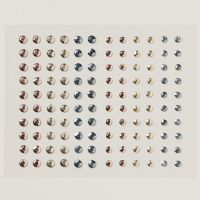
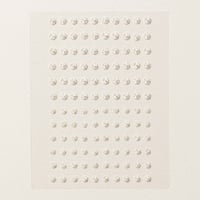
- Embellishment: Adhesive-Backed Metallic Gems
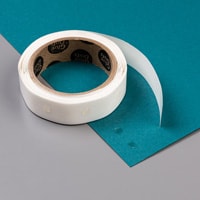
- Adhesive: Mini Glue Dots
Closure 1 - Flaps
In preparation for making this card on the
video, I did my hot foiling ahead of time. I used the Magical Christmas die and the new black foil on Gold Foil Sheets to make my sentiments. This is one of my favorite sets from the hot foil line and the shiny black foil on shiny gold is simply fantastic. After foiling, I cut out the sentiments and selected the ones I wanted for my card. (The rest are added to my little bag of leftovers which are handy for a quick card in the future!)
Since we are making a gate fold card, you only want to score the card base at 2-1/8" on
one end. After folding the flap over and creasing it with my bone folder, I like to use my bone folder to put a little curve into the rest of the base (you can see me do that in the
video). Then I take the opposite side of the card base and fold it to meet the flap. This method gives a perfect match in the middle and I prefer doing it this way rather than scoring both ends at 2-1/8". I do this card base for all but the last of my samples. Note - if you are doing a gate fold with the opposite orientation (starting with a 4-1/4" x 11" base), you will need to score because the fibers in the paper are not aligned to give you a smooth fold in this orientation.
Layer the DSP and Gold Foil triangles together. One of these will be attached to the lower left flap and the other to the upper right flap. Make sure you only place adhesive where the triangles touch their respective panels, otherwise, your flaps will prevent the card from opening! These triangles flaps will go under the opposite panel to hold it shut, but not until we finish the card front.
I used the die from the Timeless Celebrations Hybrid die to cut out the modern oval (which is in the middle of the die) from the Gold Striped Vellum Specialty DSP (I used the bolder stripe pattern). Then I adhered my Merry Christmas sentiment with Mini Glue Dots to the center. To attach this to the card front, only place Mini Glue Dots under the right side of the sentiment (so they won't be visible through the vellum) and attach it to the right flap, centered top to bottom.
To finish the card, add a row of gold gems above and below the vellum along the center opening. Adhere the Basic White panel to the inside of the card and add the foiled sentiment. Now you can tuck the triangle flaps under the opposite side to keep the card closed. Lastly, add the Special Delivery foiled tag to the envelope.
As I was prepping for this
video, my first sample of the Flaps method used another new foil - this one is a Rainbow! I used the Garden Silhouette Hot Foil die which really shows off the different colors. I did not mat the triangles and used a neutral Crumb Cake base. My sentiment was created with the Framed & Fabulous bundle and cut with a 2" circle punch, and I decorated with Iridescent Pearls Basic Jewels. I used a strip of the same foiled flowers for the envelope.
Closure 2 - Belly Band
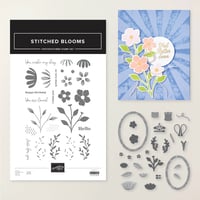
I recently completed the October Online Card Retreat with Stampin' Up! and one of the bundles we used to make the 15 cards was Stitched Blooms. It's a beautiful set with several types of stitched flowers and leaves, along with embroidery hoops, spools of thread, scissors and needles. I love needlework (cross stitch, quilting and some specialty embroidery are my favorites), so this is a fun set for me!
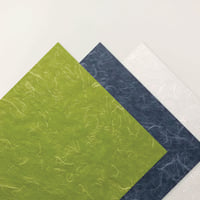
I made my card base from Crumb Cake and decorated each side panel with Mulberry Specialty Paper in Old Olive. This paper comes in a pack with three colors - White, Secret Sea and Old Olive. Mulberry paper is slightly translucent, has fibers running through it and is soft and flexible. You can cut it, die cut it, rip it and even crumple it. I did use Seal to adhere it to my card front rather than glue as I didn't want the glue to seep through.
I used Two-Tone Pecan Pie cardstock for the frame hoop and added White Mulberry paper to the "inside" of the hoop. My flowers were stamped in Timid Tiger, Cajun Craze, Old Olive and Mossy Meadow. After they were cut out, I glued them to the frame and added the hanger which was cut from Gold Foil. I added a little sentiment stamped in Pecan Pie and popped this over the bottom of my hoop.
To make a belly band, you need about 9" and whatever width you want. Before adding my score line at 2-1/4", I stamped the cross stitch pattern on my strip of Old Olive. Fold at your score line with the short end coming over the front of your closed card. Then use a pencil to make a mark on the opposite side about 1/8" from the card fold. This is where you will do another score line and join the ends in the middle of the card front. By doing it this way, you will have a band that isn't too tight and will slide off easily, yet hold the card flaps in place. Lastly, I adhered my hoop to the band with Dimensionals. Of course, I decorated the inside with a sentiment and leaves, and added leaves to the edge of my envelope.
Closure 3 - Tuck
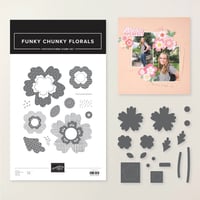
The Funky Chunky Florals Bundle is so much fun! It definitely reminds me of my younger years when groovy flowers were in style! There are two things a little different about the dies in this set. First, when you stamp and cut out the flowers and leaves, the die will not leave a small unstamped border like most of our dies. Second, there are two flower dies that do not cut out a whole flower, even though they might look like they do. Instead, they cut out most of the inner flower petals so that you can curl them up and add dimension.
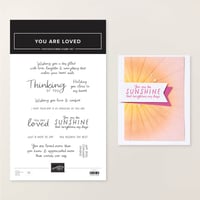
For this sample, I used the Painted Patterns DSP in Gorgeous Grape to decorate the panels of my gate fold closure. I stamped my flowers/leaves in Gorgeous Grape, Highland Heather, Daffodil Delight and Granny Apple Green. After adhering the leaves to the flowers, I popped them up on the front of the right side panel, making sure I had space to tuck in my label. My label is from the Web of Fun dies and I stamped the sentiment from You are Loved in Gorgeous Grape. The label is attached with Dimensionals, but only on the left panel. You need to stamp the words towards the left because the right side gets tucked under the flowers and holds the card sides together. I colored some white dots from the Adhesive Backed Bats Ghosts & Dots embellishments with a Highland Heather Stampin' Blend. This is a fun way to have them coordinate even though they don't come in the color you want!
Lastly, I decorated the inside with a sentiment and another flower and leaves. I did make a little mask of the flower so that when I stamped the leaves, they look like they are under the stamped flower. I added another strip of the polka dots to my envelope and glued on a small flower and two leaves.
Closure 4 - Velcro
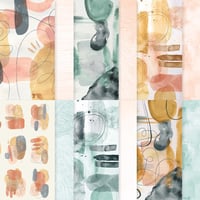
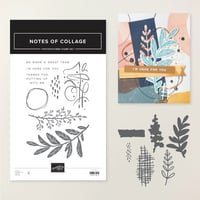
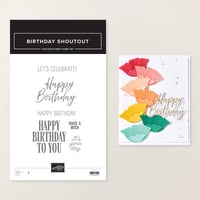
This card features the Painted Collage DSP and Notes of Collage Bundle. The paper has lots of graphic patterns, sometimes in bold swaths of color. There is also a sheet with 12 mini collages, which is what I used here. I stamped more images onto the collage with Secret Sea, then matted it in Cajun Craze. I used a little piece of Golden Glow for my sentiment, which is from the Birthday Shoutout set.
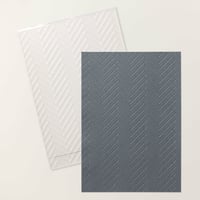
For my card base, I chose Secret Sea and covered my panels a little differently than my previous samples. I started with a 4" x 5-1/4" piece of the Textured Canvas Specialty DSP in Very Vanilla and embossed it with the Timeless Herringbone Embossing Folder. Then, I cut this in half vertically and adhered it to my panels without a border at the center seam. I added my collage piece to the left side with Dimensionals. Then I used a small velcro dot on the right side for my closure. I love these little dots - they are not bulky or super hard to detach like some I've used before. I found mine on Amazon and I really like how well they hold my card together, yet are unobtrusive and easy to open.
I stamped a panel of Very Vanilla with my birthday sentiment in Cajun Craze, then added a Golden Glow die to the bottom before adding it to the center of my card. For my envelope, I masked off the left edge, then stamped one of the cool designs in Secret Sea. I really love this card and think it makes a perfect one for the guys in my life!
Closure 5 - Ribbon
The Somewhere in Time Suite Collection is simply elegant! I cut and embossed a quarter sized piece of Very Vanilla. This adds the lovely embossed leaves and flowers and the pieces fit perfectly on the front of our card! I cut the top and bottom pieces in half and added them to the card front panels (Basic Black) without any gap at the seam, just like my last card. Then I added the right and left embossed pieces - I did all of these with glue, but you could use Dimensionals if you prefer. Before adding the center embossed piece, I tied ribbon around the card with enough length to tie a bow on the right side. I used Black Iridescent ribbon because my Basic Black Satin Ribbon hadn't arrived yet. I adhered the ribbon with Seal on the middle of the back of my card, as well as under where the embossed oval would go. Remember to only add Dimensionals to the left side so that the card will open.
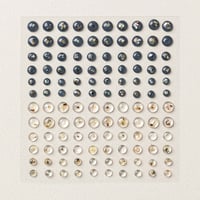
I made my label with a double strips of paper with flagged ends. I left enough space so that I could add the Pearl Adhesive-Backed Dots and then added it over the embossed oval. More sentiments and flowers were stamped to complete the inside panel and envelope (I still have a few Very Vanilla envelopes left in my stash and this seemed like a perfect card to have a matching color envelope!)
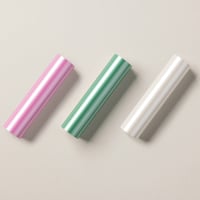
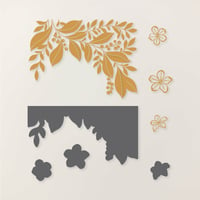
One last bonus card for you! This one is a gate fold in the opposite orientation. I used the Spring Assortment foils, which have three soft colors that are not opaque, but are pearlized shades of ivory, pink and green. I used the Verdant Filigree Hot Foil Dies to add the pattern of leaves on Granny Apple Green on both ends of my card front (4-1/4" x 11" scored at 2-3/4" from each side). There is a die to cut out the leaf pattern and this makes the flaps meet perfectly in the middle. I added some flowers made with the pink foil and a belly band. The labels are from the Sweet Words & Labels dies and the sentiments are from Words & Wishes.
I normally like to keep my videos closer to 20 minutes in length, but I wanted to show you lots of the new products... so a longer
video it is! I hope you don't mind, and have learned another fun way to close those gate fold cards!
Karen
ThePowerOfACard@gmail.com
Shop my Store! (or use the QR code below)
If you don’t have an on-line account with me as your demonstrator, please go to my store and get one.
https://ThePowerOfACard.blogspot.com
Images Copyright Stampin’ Up!®
Find me on Facebook - The Power of a Card or
Join my Facebook Group (The Power of a Cardmaker): https://www.facebook.com/groups/1042676296088278/?ref=share
When you shop, you earn rewards! For any purchase above $20, you will earn 10% in rewards to spend on a future purchase. And you don’t have to use them all at once as you can save up rewards to get something big for free!
Product List